Replacing a dimmer switch is a straightforward DIY task that can improve the ambiance of your home. With the right tools and a little guidance, you can easily install a new dimmer switch to control the brightness of your lights. This guide will take you through the necessary steps, from understanding the types of dimmer switches to troubleshooting common issues after installation.
Key Takeaways
- Ensure the power is turned off before starting the replacement.
- Identify the correct wires and their connections for the new switch.
- Use the right tools and safety gear to prevent accidents.
- Test the new dimmer switch after installation to confirm it works properly.
- Regular maintenance can prolong the life of your dimmer switch.
Dimmer switches come in various types to suit different lighting needs. Here are some common types:
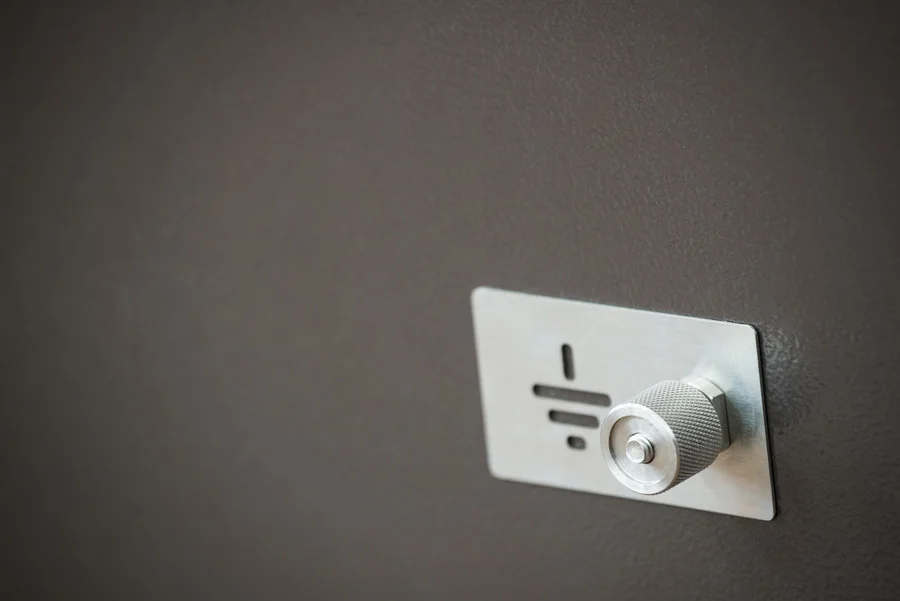
Dimmer switches adjust the brightness of lights by changing the amount of electricity flowing to the bulbs. Most dimmers require a Decora cover plate, which fits the switch's rectangular opening. It's essential to ensure compatibility with the type of light bulbs you are using. For instance:
Using dimmer switches offers several advantages:
Always check that your bulbs are labelled "dimmable" before using them with a dimmer switch. This ensures safety and proper functionality.
In summary, understanding the different types of dimmer switches and how they operate is crucial for effective installation and use. Choosing the right dimmer switch can enhance your lighting experience significantly.
When replacing a dimmer switch, it’s essential to have the right tools and materials ready. This will make the process smoother and safer. Here’s what you’ll need:
When selecting a dimmer switch, consider:
Before you start, make sure to wear:
Remember, safety first! Always turn off the power at the circuit breaker before starting any electrical work.
By gathering these tools and materials, you’ll be well-prepared to tackle the dimmer switch replacement with confidence!
Before you start, safety is crucial. Always turn off the power to the circuit you’ll be working on. Locate your home’s electrical panel and switch off the breaker that controls the light switch you’re replacing. This step is essential to prevent electrical shocks. After turning off the power, double-check that the circuit is dead:
Once you’ve confirmed the power is off, it’s time to remove the old switch. Follow these steps:
While the switch is out, take a moment to inspect the electrical box:
Always prioritise safety when working with electricity. If you’re unsure, consult a qualified electrician.
To connect your new dimmer switch, follow these steps:
Once the wires are connected, it’s time to secure the switch:
After securing the switch, it’s crucial to test your installation:
Remember, if you encounter any issues, it’s best to consult a qualified electrician. Safety should always come first.

When your dimmer switch isn’t working as it should, it can be frustrating. Here are some common problems and how to fix them:
Remember, safety first! If you’re unsure about any steps, consult a professional electrician.
| Issue | Possible Cause | Solution |
|---|---|---|
| Dimmer not working | Faulty switch or loose connections | Check connections, replace switch |
| Lights flickering | Incompatible bulbs | Use compatible bulbs |
| Overheating | Overloaded circuit | Reduce wattage or replace switch |
To keep your dimmer switch in good shape, regular cleaning is essential. Here are some tips:
It’s wise to check your dimmer switch periodically. Here’s what to look for:
If you notice any of the following, it might be time for a replacement:
Regular maintenance can help prevent costly repairs and ensure the longevity of your dimmer switch.
By following these simple steps, you can keep your dimmer switch functioning well and safe to use!
Keeping your dimmer switch in good shape is essential for a smooth lighting experience. Regular checks can help you spot any issues early. If you need expert help or want to learn more about maintaining your dimmer switch, visit our website for tips and trusted local tradesmen ready to assist you!
Replacing a dimmer switch can seem tricky, but it’s a task you can handle with a bit of care. By following the steps outlined in this guide, you can easily enhance the lighting in your home. Remember to always turn off the power before starting and double-check your connections to ensure everything is safe. Once you’ve installed your new dimmer, take a moment to enjoy the different lighting options it offers. If you run into any issues, don’t hesitate to reach out for help. Happy DIYing!
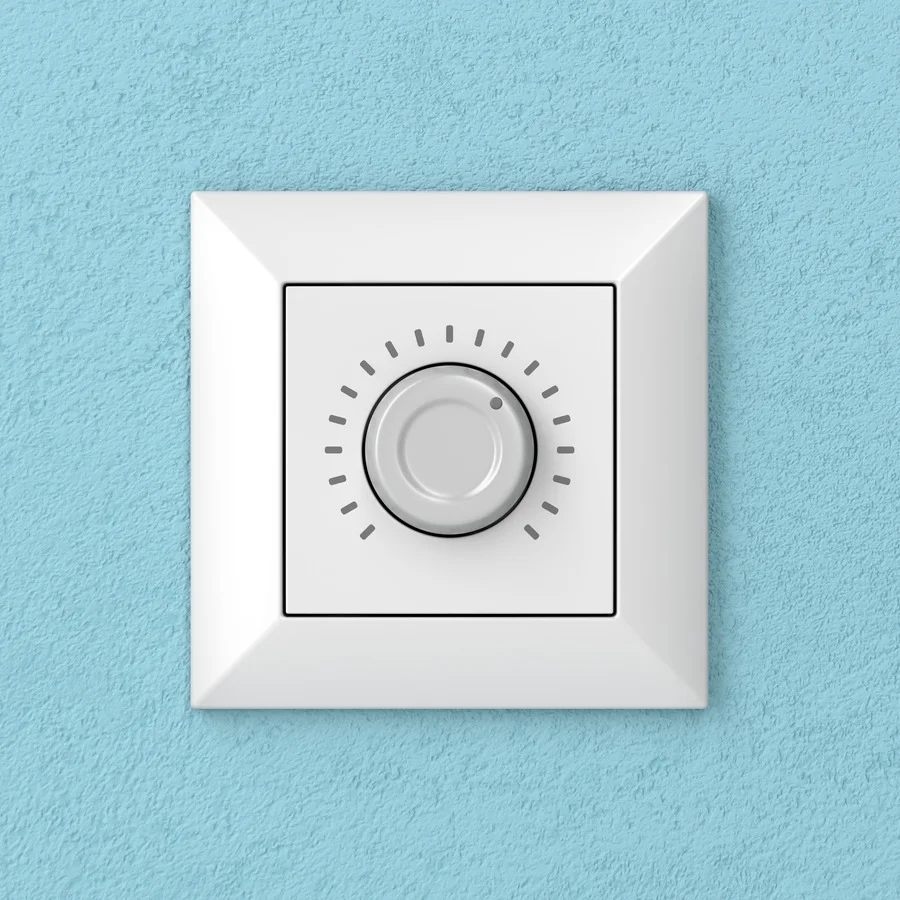
A dimmer switch lets you control how bright or dim your lights are. You can adjust the brightness to create different moods in a room.
Not all light bulbs work with dimmer switches. Make sure to use dimmable bulbs, especially if you're using LED lights.
Check the packaging or the product details to see if it mentions being suitable for LED bulbs. Look for terms like 'trailing-edge'.
If you feel confident and follow safety steps, you can install a dimmer switch. However, if you're unsure, it's best to hire a professional.
A buzzing sound can mean the dimmer switch isn't compatible with your bulbs. Try using different bulbs or check if the dimmer is faulty.
It's a good idea to inspect your dimmer switch every year. Look for any signs of wear or damage and replace it if needed.
Disclaimer: The information provided in this blog is for general informational purposes only and should not be considered a substitute for professional advice. All work, including but not limited to electrical, plumbing, and construction, carries risks and should only be undertaken by qualified professionals. For specific guidance on any work, consult a certified professional in the relevant field. Always ensure compliance with local regulations and safety standards.
