
Changing a ceiling light fixture can seem daunting, but with the right knowledge and tools, it can be a simple task. This guide will help you understand the steps involved and ensure your safety as you light up your space.
Key Takeaways
- Always turn off the power at the circuit breaker before starting any electrical work.
- Use the right tools, like a voltage tester and wire strippers, to ensure a safe installation.
- Wear protective gear, such as gloves and goggles, to shield yourself from dust and debris.
- If you're unsure about handling electrical wires, don't hesitate to call a professional electrician.
- Make sure to follow local electrical codes and regulations to avoid any legal issues.
When working with electricity, safety is the top priority. Always ensure that the power is turned off before starting any electrical work. This simple step can prevent serious accidents.
Remember, safety is not just about the tools you use; it’s also about the precautions you take. Always double-check your work and ensure that all connections are secure, especially the green wire to the grounding screw. This will help prevent electrical hazards in your home.

Before you start your DIY project, it’s essential to gather all the necessary tools and materials. This preparation will help ensure a smooth and safe installation process.
To change a ceiling light fixture, you will need the following tools:
When selecting a new light fixture, consider:
Ensure your workspace is safe and organised:
Remember, having the right tools ready not only saves time but also helps prevent accidents. Always prioritise safety when working with electricity!
Before you start, always turn off the power at the circuit breaker. This is crucial to avoid any electrical shocks. Use a voltage tester to confirm that the electricity is off. If you’re unsure which circuit controls the light, turn on the fixture and switch off each circuit until the light goes out.
Remember, safety first! If you feel unsure at any point, it’s best to consult a professional electrician.
Before you start, ensure that the existing wiring is in good condition and not too long for your new light fixture. If necessary, use wire cutters to trim the ends and strip about half an inch of insulation off the wires. Connect the wires according to the following:
Make sure all connections are tight and neatly packed into the terminal box before closing it up.
Next, take the mounting bracket that comes with your new light fixture. Use it to mark where to drill holes in the ceiling. If the holes from the old fixture line up, you can use those. Secure the bracket in place with screws.
Once the fixture is mounted, install the LED bulbs or any other type of bulbs you prefer. After everything is in place, turn the power back on at the fuse box. Check to see if the light works correctly. If it doesn’t, double-check your connections.
Remember, safety is key! Always turn off the power before starting any electrical work. If you feel unsure at any point, it’s best to consult a professional.
Following these steps will help you successfully install your new light fixture, whether it’s a chandelier or wall sconces. Keep these lighting tips in mind for a safe and effective installation!
After installing your new light fixture, it’s crucial to inspect the installation thoroughly. Check that all connections are secure and that there are no exposed wires. Ensure that the fixture is firmly attached to the ceiling. Here are some key points to consider:
If your new light fixture isn’t working as expected, don’t panic. Here are some common issues and how to resolve them:
To maintain safety over time, follow these homeowner tips:
Remember, safety tips are essential when working with electricity. Always prioritise your safety and don’t hesitate to seek help if needed!
When changing a ceiling light fixture, it’s crucial to understand the local electrical codes that apply to your area. These codes ensure safety and compliance with regulations.
Always prioritise safety and compliance when working with electrical systems. Understanding local codes can prevent costly mistakes and ensure a safe environment for your home.
By following these guidelines, you can ensure that your new light fixture is installed safely and in accordance with local regulations.
When it comes to electrical work, knowing the local rules and guidelines is essential. These regulations ensure safety and quality in every job. If you're looking for reliable tradesmen who understand these codes, visit our website today!
Changing a ceiling light fixture can seem tricky, but with the right steps, it can be done safely and easily. Always remember to turn off the power before starting, and use a voltage tester to ensure there’s no electricity flowing. If you follow the instructions carefully, you can enjoy your new light without any worries. Don’t hesitate to ask for help if you need it, and if you’re ever unsure, it’s best to call a professional. Stay safe and happy lighting!
Turning off the power prevents electrical shocks while you work on the fixture. It's a crucial safety step.
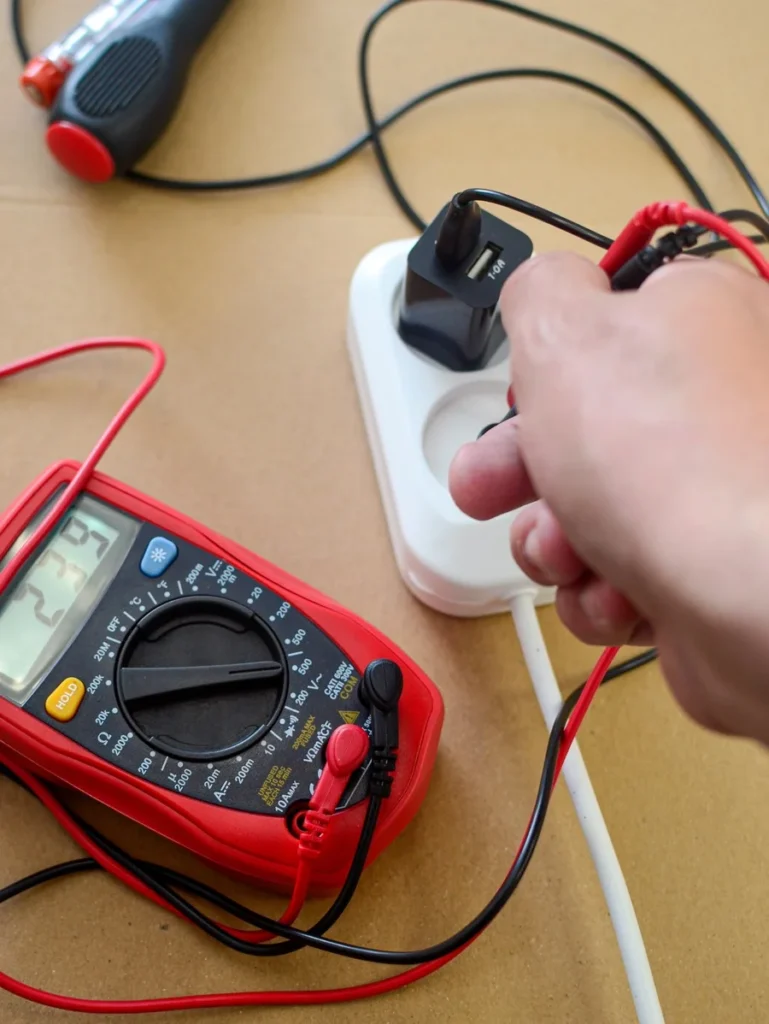
You will need a ladder, screwdriver, wire strippers, and a voltage tester to ensure safety.
Use a voltage tester to check that there is no current in the wires. If the tester lights up, the power is still on.
If you see any damaged wires, cut off the damaged part and strip the wire to expose fresh wire for a safe connection.
Yes, but only if you feel confident and safe doing it. If you're unsure, it's best to hire a professional.
Double-check your connections and ensure the circuit breaker is on. If it still doesn’t work, consult a professional.
Disclaimer: The information provided in this blog is for general informational purposes only and should not be considered a substitute for professional advice. All work, including but not limited to electrical, plumbing, and construction, carries risks and should only be undertaken by qualified professionals. For specific guidance on any work, consult a certified professional in the relevant field. Always ensure compliance with local regulations and safety standards.
