
If you think your light switch might be faulty, don't worry! You can carry out a simple test to check its condition. This guide will walk you through the steps needed to safely examine and test your light switch, ensuring that you can troubleshoot the problem without calling in a professional. Remember, safety is key when dealing with electricity, so always take the necessary precautions before starting your work.
Key Takeaways
- Always switch off the power before working on a light switch.
- Use a multimeter to check if the switch is functioning properly.
- Inspect for any visible damage or loose connections.
- Testing for continuity can help determine if the switch needs replacing.
- If unsure, it's best to consult a qualified electrician.
Light switches come in various types, each serving a unique purpose. Here are the most common types:
Light switches can face several problems, including:
Before you start testing a light switch, always remember:
Understanding the basics of light switches is crucial for safe and effective testing. Knowing the types of switches and their common issues can save you time and effort.
When checking if a light switch is faulty, having the right tools is essential. Proper installation and testing can save you time and ensure safety. Here’s what you’ll need:
Remember, using the correct tools not only makes the job easier but also helps prevent accidents. Always prioritise safety when working with electricity!
Before you start testing your light switch, it’s crucial to prepare properly. Safety is the top priority when dealing with electrical components. Here’s how to get ready:
Remember, if you feel unsure about any step, it’s best to consult a professional. Electrical safety is paramount in home maintenance!
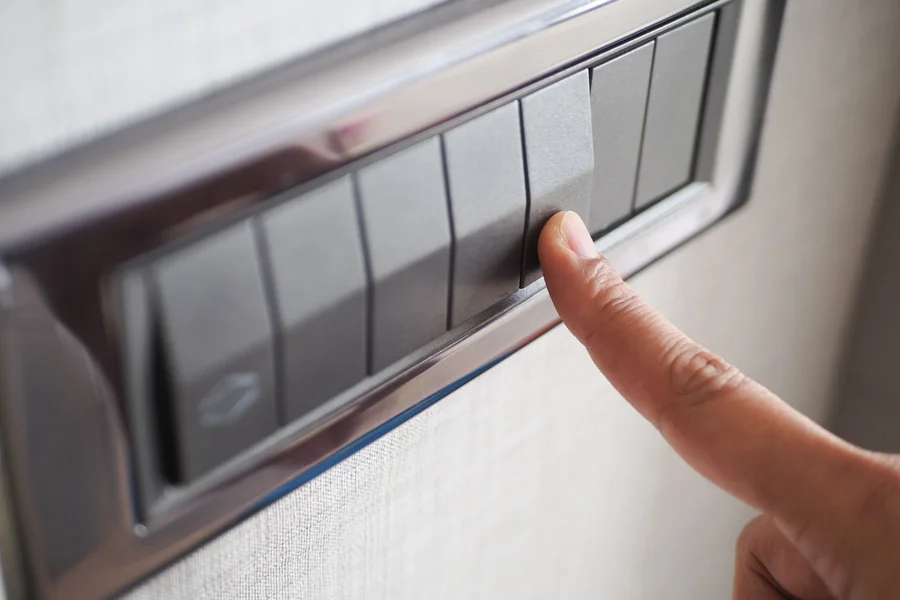
Start by examining the light switch for any visible damage. Look for:
Next, check the wiring connections. Ensure:
Finally, assess the overall condition of the switch. Look for:
Safety precautions are essential when inspecting electrical components. Always ensure the power is turned off before starting any inspection to avoid accidents.
By following these steps, you can identify potential issues with your light switch before proceeding to more detailed testing.
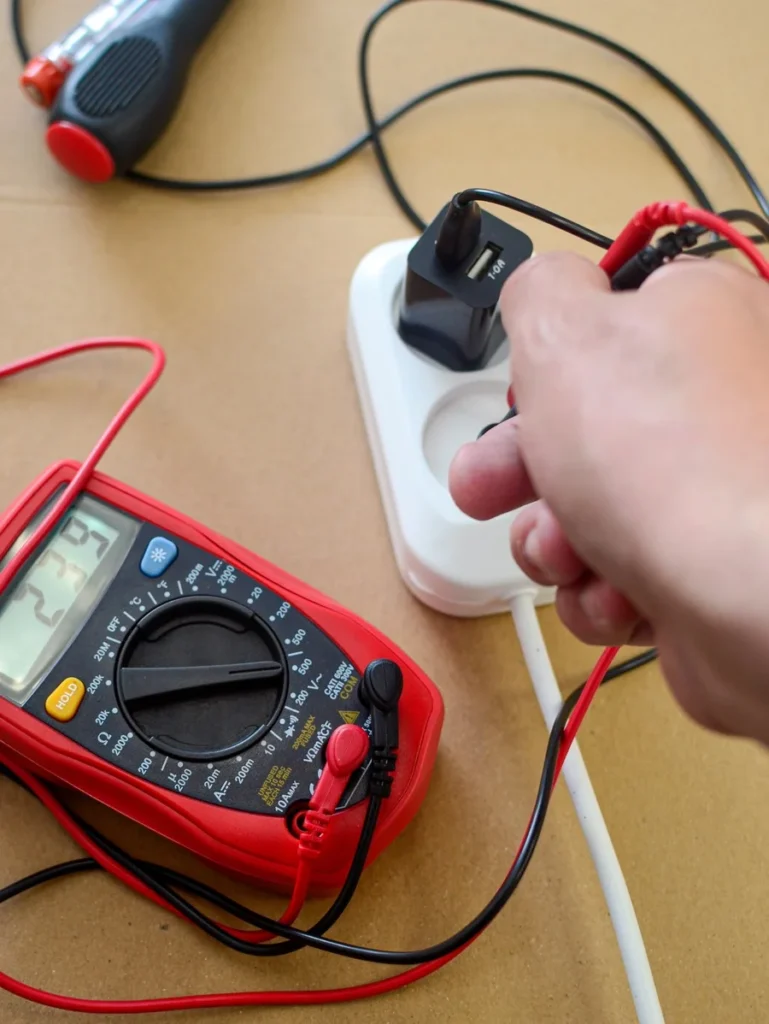
To check if your light switch is working properly, you can use a multimeter. This tool measures resistance and helps you determine if there is a continuous electrical path. Here’s how to do it:
Understanding the results is crucial for troubleshooting:
If your switch fails the continuity test, consider these steps:
Remember, safety first! Always turn off the power before testing any electrical components. If you’re unsure, it’s best to seek help from a qualified electrician.
To begin testing your light switch, you need to set up your voltage tester correctly. Follow these steps:
Once your tester is in place, you can measure the voltage levels:
| Voltage Level | Status |
|---|---|
| 0V | Switch is likely faulty |
| 120V | Switch is functioning |
To ensure you get accurate readings:
Remember: Always prioritise safety when working with electrical systems. If unsure, consult a professional.
By following these steps, you can effectively determine if your light switch is functioning correctly or if it needs replacement. Using a multimeter can provide more detailed insights into the switch's condition.
After ensuring that your light switch is functioning correctly, it’s time to put everything back together. Follow these steps:
Once the switch cover is securely in place, you can restore power:
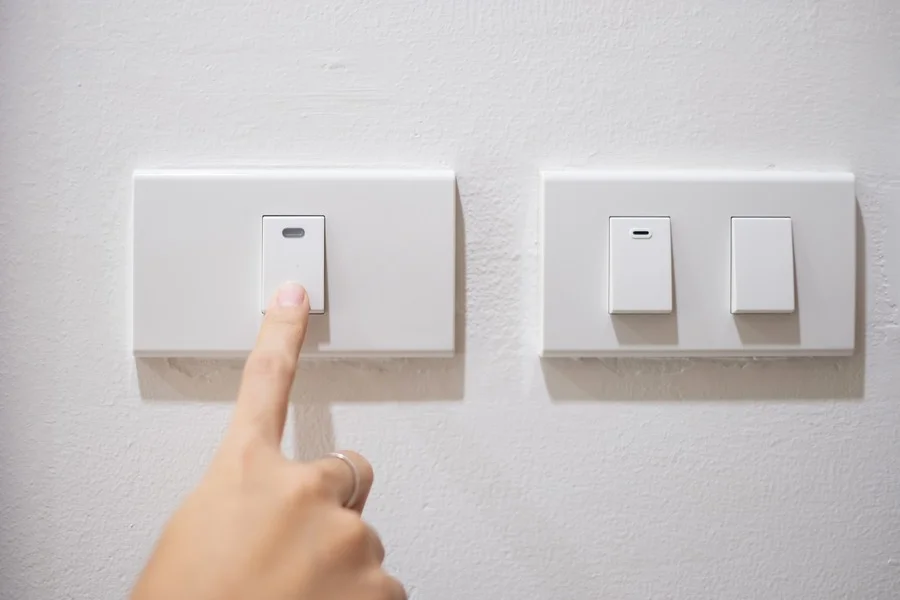
Now that everything is reassembled, it’s time to test the switch:
Remember: If the light does not work after reassembly, you may need to consider a light switch repair or replacement. It’s crucial to ensure all connections are secure and that the switch is compatible with your lighting setup.
After putting the light switch back together, it's time to test it out. Make sure everything is connected properly and then flip the switch to see if it works. If you need help or want to find a skilled tradesman for your next project, visit our website today!
In conclusion, checking if a light switch is faulty doesn't have to be a daunting task. By following the simple steps outlined in this article, you can safely determine whether your switch is working properly or if it needs replacing. Always remember to turn off the power before you start any testing to keep yourself safe. If you find that the switch is indeed faulty, don't hesitate to reach out to a qualified electrician for help. Keeping your home safe and well-lit is important, and knowing how to troubleshoot your light switches is a valuable skill.
If your light switch is faulty, it's best to call a qualified electrician. They can safely assess the problem and make any necessary repairs or replacements. It's always wise to get professional help when dealing with electrical issues to ensure safety and compliance with standards.
Yes, it's important to test the switch in both positions to get a complete understanding of its functionality. This helps identify any issues that may occur only when the switch is in a particular state.
You can check if your light switch is broken by performing a simple test. If the light doesn’t turn on when the switch is flipped, or if it feels loose or doesn’t click properly, it may need to be replaced.
Yes, but you must take safety precautions. Always turn off the power at the circuit breaker before working on the switch. If you're unsure, it's safer to hire a professional.
To test a light switch, you'll need a multimeter or a continuity tester. A voltage tester is also useful to ensure the power is off before you start.
It's a good idea to check your light switches periodically, especially if you notice any flickering lights or if the switch feels warm. Regular maintenance can help prevent bigger issues.
Disclaimer: The information provided in this blog is for general informational purposes only and should not be considered a substitute for professional advice. All work, including but not limited to electrical, plumbing, and construction, carries risks and should only be undertaken by qualified professionals. For specific guidance on any work, consult a certified professional in the relevant field. Always ensure compliance with local regulations and safety standards.