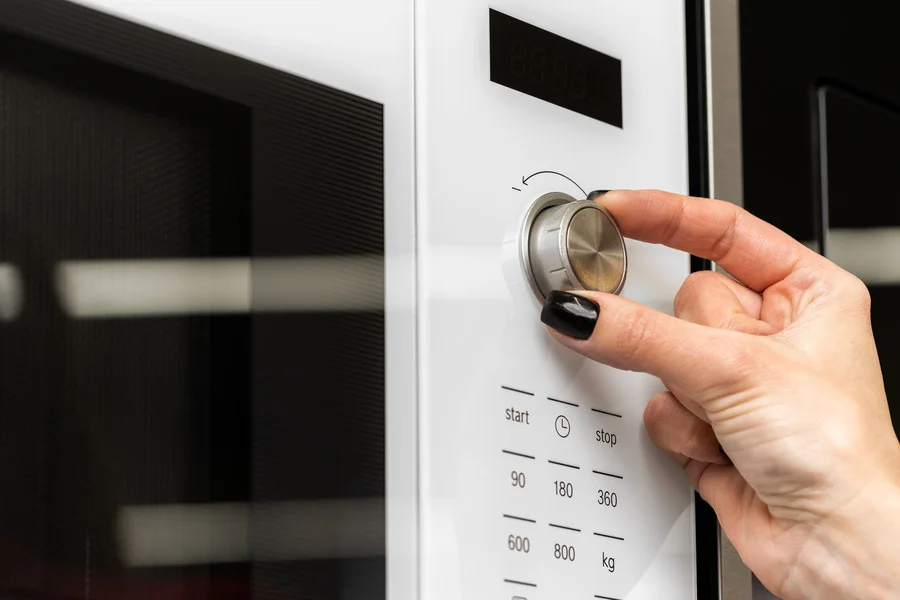
Replacing a lightbulb in your microwave might seem daunting, but it's actually a straightforward task. Understanding the steps involved can help you do it safely and effectively. This guide will walk you through the importance of the microwave lightbulb, how to gather the right tools, and the steps to properly replace the bulb.
Key Takeaways
- Always unplug the microwave before starting any repairs.
- Check the user manual to find the correct type of replacement bulb.
- Use the right tools, like a screwdriver, for safe access to the bulb.
- Handle the old bulb carefully to avoid any breakage or injury.
- Regularly check your microwave lightbulb to ensure it is functioning properly.

The lightbulb in your microwave plays a crucial role in monitoring your food as it cooks. While it doesn't contribute to the cooking process itself, it allows you to see inside the microwave, ensuring that your food is heating properly. Without it, you might not notice if something is boiling over or if your food is ready.
If your microwave lightbulb is faulty, you may notice:
Before you attempt to replace the lightbulb, keep these safety tips in mind:
Remember, while replacing a microwave lightbulb is a simple task, safety should always be your top priority. Microwaves are an essential part of our daily kitchen routines, and ensuring they function properly is key to a smooth cooking experience.
To successfully replace the lightbulb in your microwave, you will need the following tools:
Before starting, ensure you have the correct replacement bulb. Check your microwave’s model to find the right wattage and size. Here’s a quick reference:
| Microwave Model | Bulb Type | Wattage |
|---|---|---|
| Panasonic | Halogen | 20W |
| Samsung | Incandescent | 30W |
| LG | LED | 10W |
Safety precautions are crucial when working with electrical appliances. Here are some items to consider:
Remember: Always unplug the microwave before starting any repairs to avoid electrical shocks. Be cautious of sharp edges when accessing the lightbulb compartment.
Finding the lightbulb in your microwave can be straightforward if you know where to look. Understanding the layout of your microwave is key to accessing the bulb safely and efficiently.
The lightbulb can be found in various places depending on the design:
To access the bulb, follow these steps:
Remember, safety first! Always ensure the microwave is disconnected from power before attempting to access the interior.
By following these steps, you can easily locate the microwave bulb access and prepare for replacement.
Before you start, always unplug the microwave to ensure safety. This prevents any accidental electrical shocks while you work.
To access the light bulb compartment, you will need a Philips head screwdriver. Follow these steps:
Once you have access to the bulb, you can remove it:
Remember to handle the old bulb with care, as it may break easily. Dispose of it properly after removal.

When selecting a new bulb, ensure it matches the specifications of your microwave. Using the right type is crucial for proper functioning. Here are some tips:
After the bulb is in place, it’s time to close everything up:
Remember, proper bulb installation is key to ensuring your microwave operates safely and effectively. If the light doesn’t work after installation, revisit your steps to ensure everything is connected correctly.
Before you can confirm that the new light bulb is functioning, ensure that the microwave is plugged back in. This is a crucial step to avoid any mishaps during testing.
If the light does not work, consider the following:
If the light still does not function, it may be time to consult a professional. Sometimes, the issue lies beyond just the bulb itself.
To keep your microwave lightbulb in good shape, it’s essential to check it regularly. Here are some tips:
Keeping the lightbulb area clean can help prolong its life. Here’s how:
If you notice persistent issues with your microwave lightbulb, it might be time to consult a professional. Consider the following:
Remember: Regular maintenance can prevent the need for frequent microwave light bulb replacement. Taking care of your appliance can save you time and money in the long run!
Keeping your microwave lightbulb in good shape is essential for a well-functioning kitchen appliance. Regularly check the bulb and replace it when it dims or burns out. For more tips on home maintenance, visit our website and discover how we can help you find skilled tradesmen in Cornwall!
Changing the lightbulb in your microwave is a straightforward task that you can do yourself. By following the steps outlined in this guide, you can ensure that your microwave remains functional and safe to use. Always remember to unplug the appliance before starting any work, and take care when handling the bulb and its components. If you encounter any issues or feel unsure, don’t hesitate to consult a professional. With a little patience and the right tools, you’ll have your microwave shining bright again in no time!
The lightbulb helps you see inside the microwave when it's running or when you open the door. It makes cooking easier.
If the light doesn't turn on when you open the door or during cooking, it might be burnt out.
You typically need a screwdriver and a new lightbulb. It's also good to wear gloves.
Yes, but make sure to unplug the microwave first to avoid any electrical shocks.
Check your microwave's manual for the correct wattage and type. It’s important to get the right one.
Make sure it’s screwed in tightly. If it still doesn’t work, there might be an issue with the socket or wiring.
Disclaimer: The information provided in this blog is for general informational purposes only and should not be considered a substitute for professional advice. All work, including but not limited to electrical, plumbing, and construction, carries risks and should only be undertaken by qualified professionals. For specific guidance on any work, consult a certified professional in the relevant field. Always ensure compliance with local regulations and safety standards.
